

-

Amazon 1
-

About Aura Displays 6
-

Marketing 6
-

My Account 12
-

General terms and conditions 6
-

My Order(s) 18
-

B2B / Sales / Bulk Orders 9
-

Shipping 9
-

Products 3
-
Triple Boost 14" Pro 23
-
Triple Aero 15.6" Pro Max 20
-
Triple Go (Gen 2) 19
-
Dual Play (Gen 2) 18
-
Dual Boost Pro (Gen 3) 23
-

Dual Boost 15.6" Pro Max (Gen 3) 24
-
Single Boost 15.6" (Gen 2) 18
-
Single Play (Gen 2) 18
-
-

Returns 6
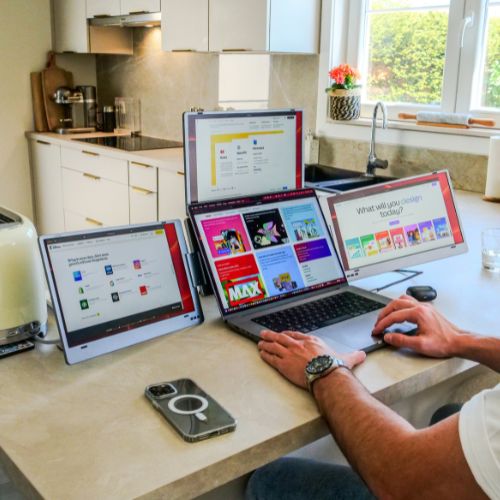
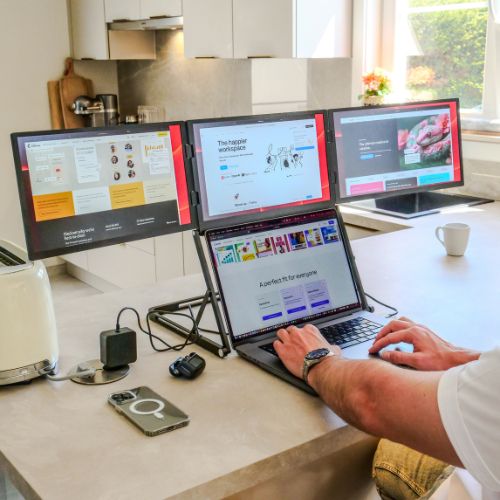
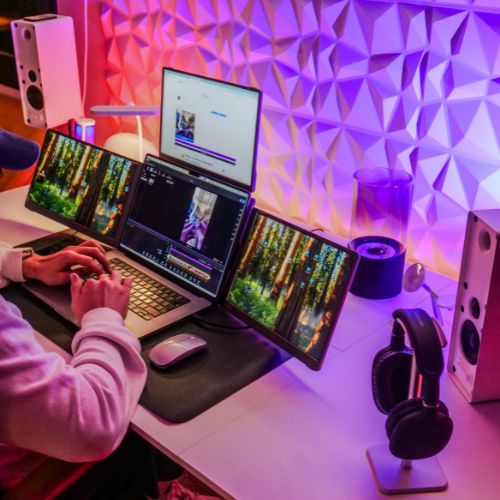
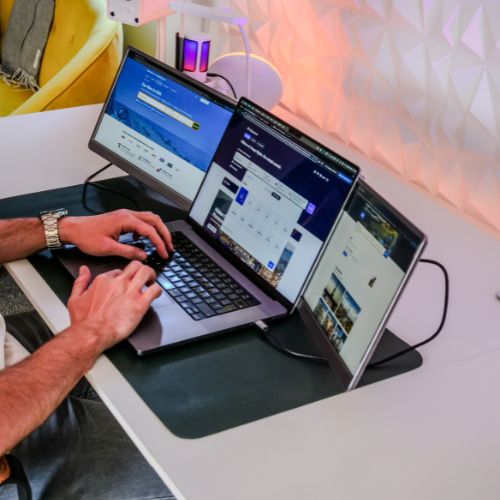
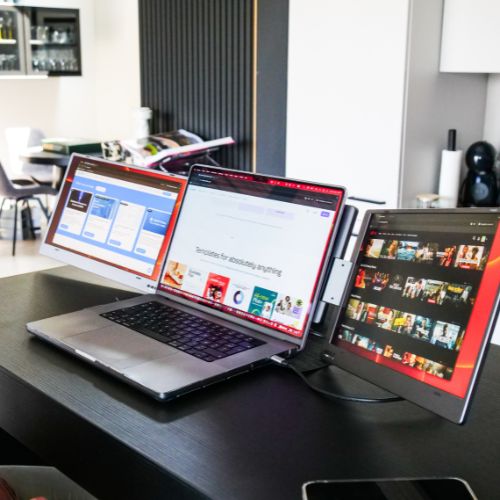
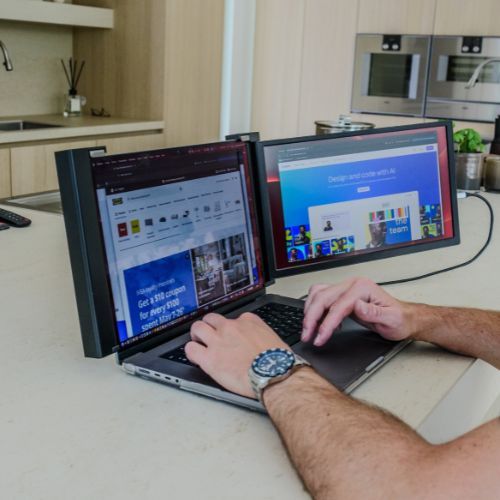
How do I correctly arrange my portable monitors in my display settings?


How can I place my AURA screens correctly in my laptop settings?
Once your AURA portable monitors are connected, your device should automatically detect them — but the physical arrangement might not match what you see on your screen. To get the best experience, you’ll want to place your screens correctly in your system’s display settings so that moving your cursor between screens feels natural.
This step only takes a few seconds, and once done, your laptop will remember the layout for future use (unless you reset your settings or connect to a different setup).
macOS
On macOS, Apple makes it easy to arrange your displays. Follow these steps:
- Click the Apple menu in the top-left corner of your screen and go to System Settings.
- Scroll down and select Displays.
- Your screens will appear as draggable boxes. Move them around to match how they’re physically placed around your laptop — whether they’re on the left, right, or stacked on top.
- Simply close the window when you're done — the settings are saved automatically.
💡 Tip: If you want to change which screen acts as the "main display" (with the menu bar and dock), drag the white menu bar box onto the preferred screen.
Windows (10 & 11)
On Windows, adjusting screen layout is quick and visual:
- Right-click on your desktop and select Display settings.
- Scroll to the section labeled Rearrange your displays.
- Click Identify to see the number assigned to each display.
- Drag the monitor previews to match the actual position of your AURA monitors around your laptop. For example, if one screen is on the right and one above your laptop, you can stack or place them side by side accordingly.
- Click Apply to save your changes.
💡 If you want to change your main display (taskbar and icons), scroll down and check the box that says “Make this my main display” for your preferred screen.
Ubuntu (Linux)
Most modern Linux distributions make screen arrangement easy as well. On Ubuntu:
- Go to Settings > Displays.
- All connected monitors will be shown as preview windows.
- Drag and drop them to reflect their physical position around your main laptop screen.
- Click Apply to confirm the setup.
💡 Note: Depending on your Linux distribution and GPU drivers, behavior may vary slightly. Make sure you have the latest driver and display manager installed.
Android
Android devices typically mirror their display when connected to an external monitor via USB-C. However, extended screen support is limited:
- Display placement options are generally not available on Android.
- Some Samsung Galaxy devices (with DeX mode) or Huawei devices support extended displays — in which case, placement might be configurable within DeX or Easy Projection.
- If your Android device only supports mirroring, you won’t be able to change display position manually.
💡 We recommend checking your device’s official support page for information about extended display capabilities.
Still need help? Our technical support team is always here to guide you. You can contact us or visit our dedicated technical sp


